The plate carrier, together with the belt, is a constituent part of the second line. Born to combine in a single product both the ballistic plates and the equipment needed to fight. It can be declined in multiple configurations, from a simple plate holder to a setup complete with ballistic protections for police work. Let’s find out together the models and the most common components to be applied on the plate holder of your choice.
Lightness and versatility
A “modern” plate carrier can be both light and strong. Modularity is another strong point in order to use the supplied material in multiple situations. Few things but well known. With a good search we can find a plate carrier that can both carry all the equipment necessary for a long mission and become low profile and minimal if the needs of use require it.
Our favorite plate carriers
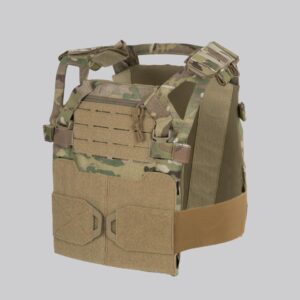
Our choice fell on Direct ActionSpitfire MKII and Bercat products for their extreme modularity, low weight and unbeatable quality / price ratio, both with maximum customization possibilities! Both DA plates are made of laser cut laminate, in the Spitfire MKII version there is a more complete structure, with springs on the front, zip and velcro, the back panel is all in laminate, while in the new Beacat version the Molle Skeleton system to lighten the structure, in addition the velcro and the front pocket (which are often covered by an admin) have been eliminated while a soft shell part has been added to the rear panel, thus creating a door plate of only 290 grams
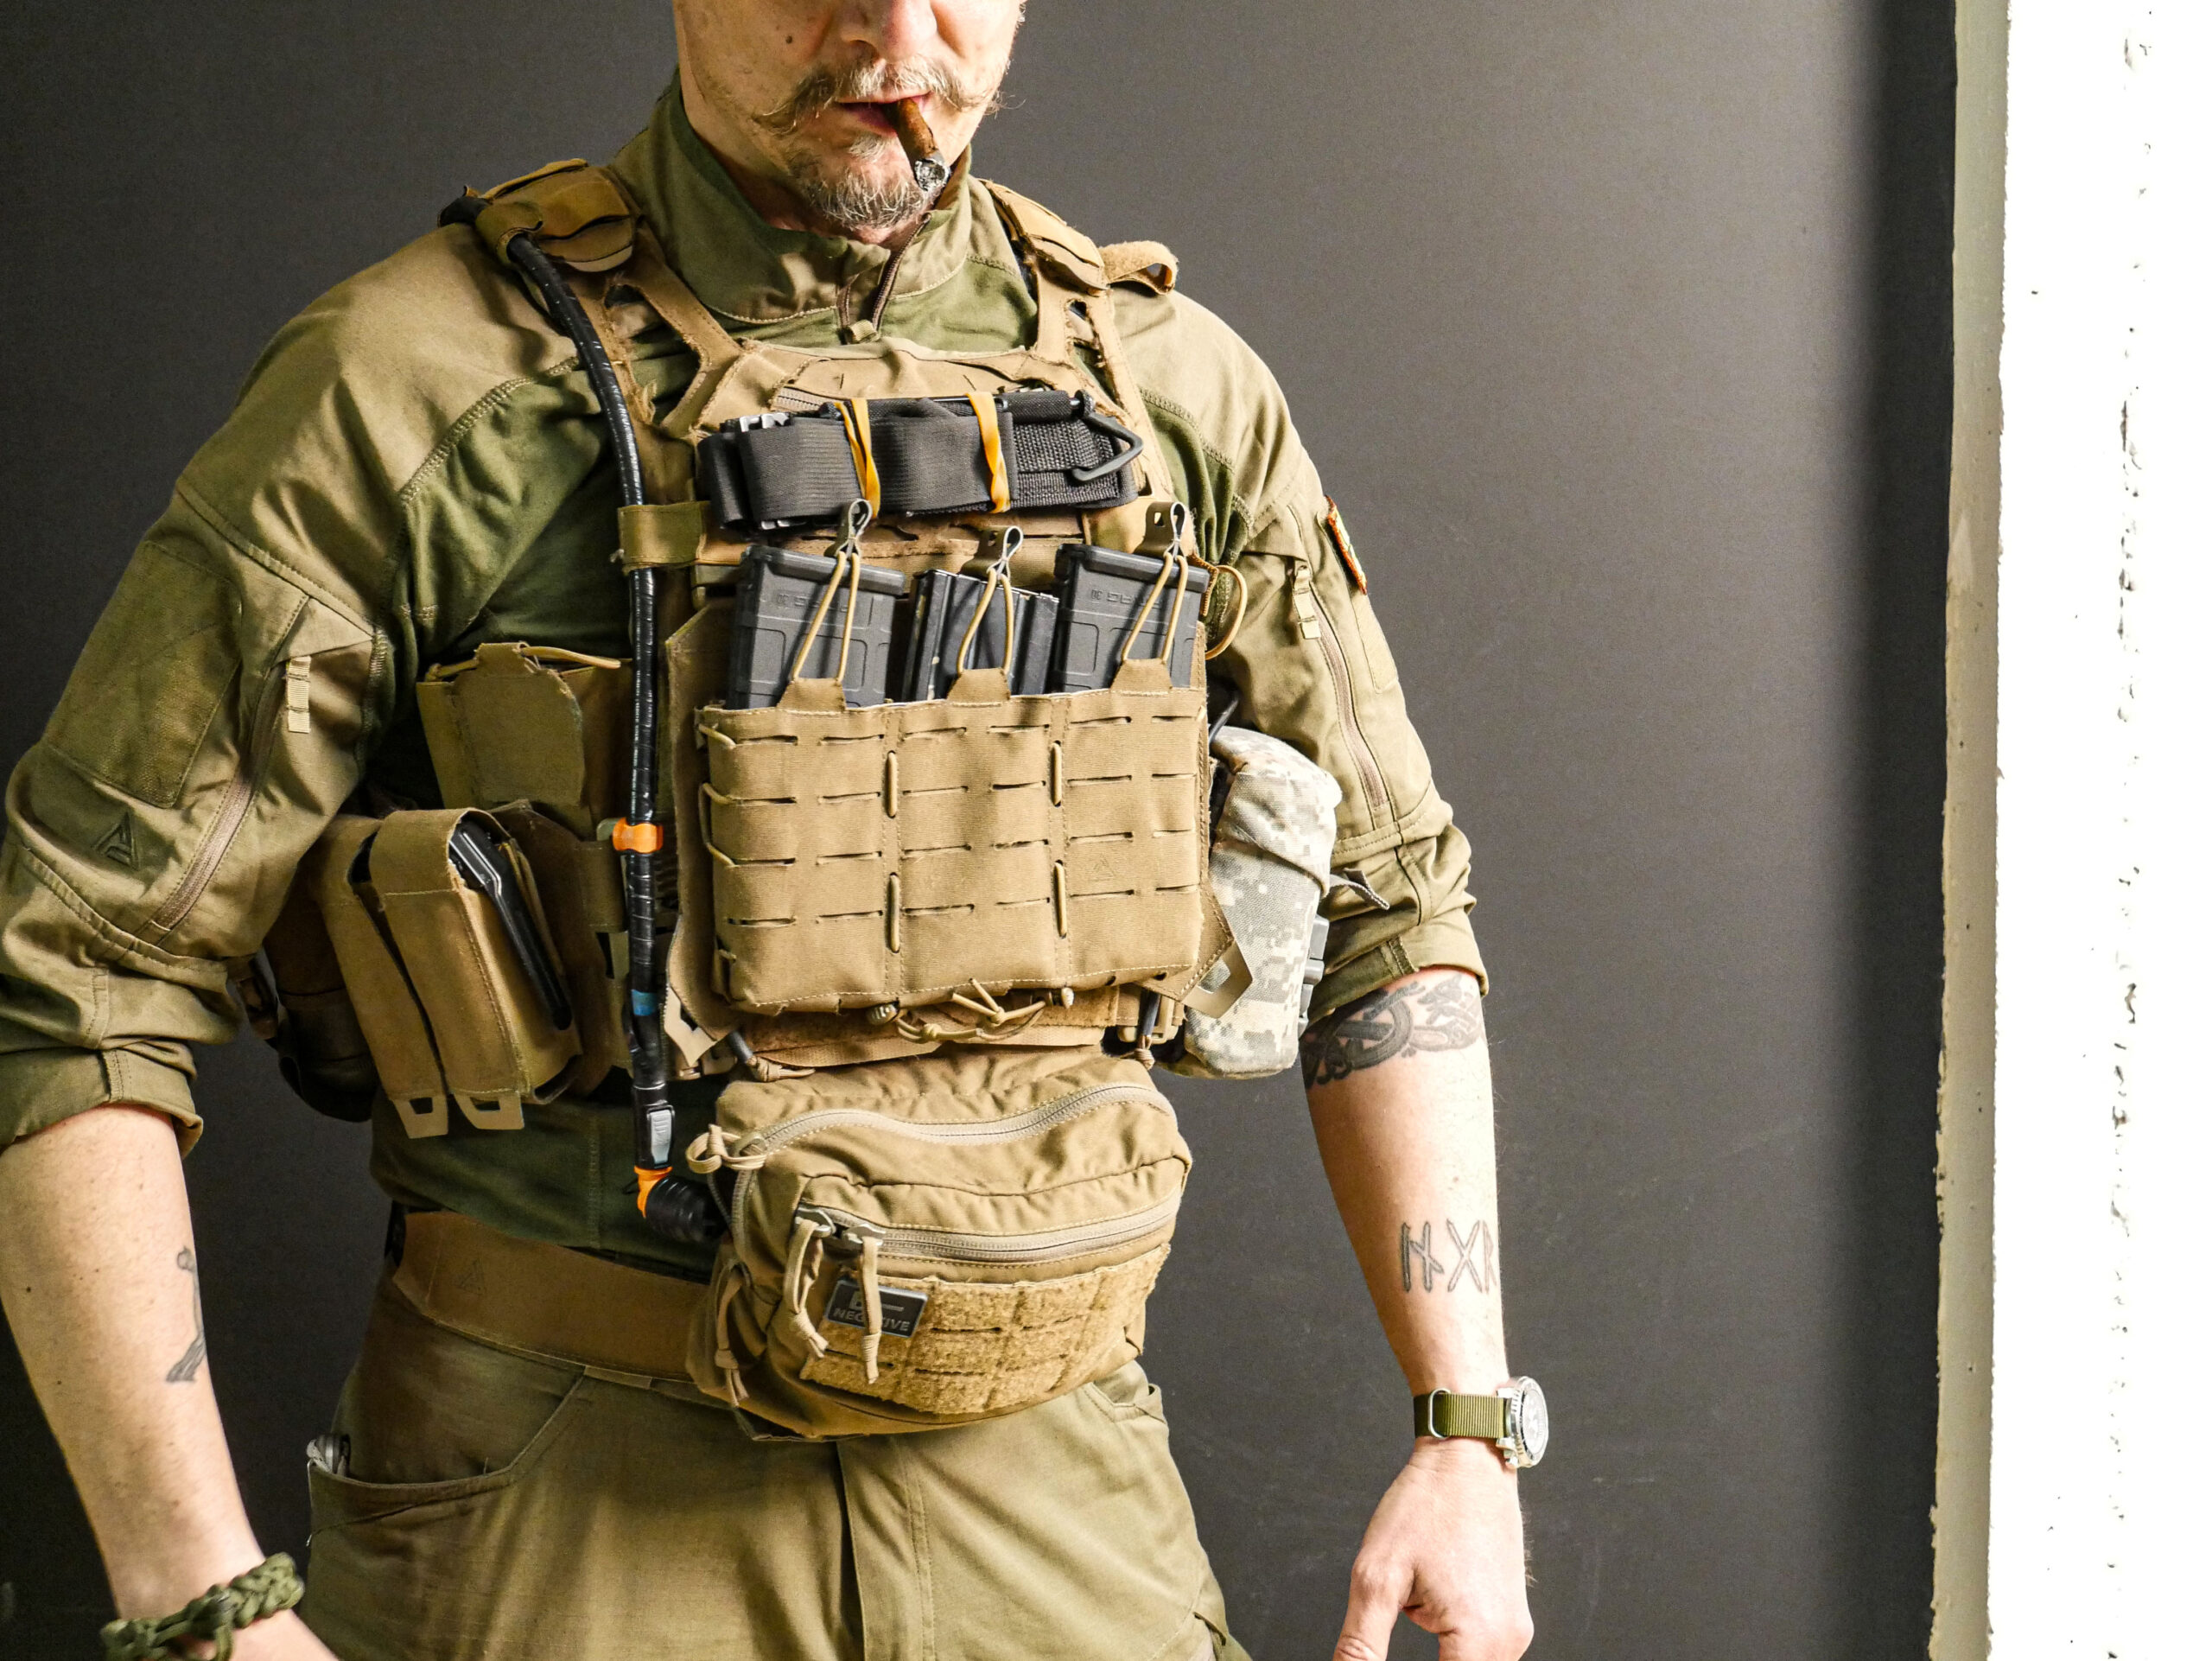
The most sore point is what to put and not to put on the plate carrier, let’s remember that we are always talking about second-line equipment, so on our plate carrier we should only put materials necessary for our mission, now let’s see a basic set up of plate carriers, without dealing with all those materials required by tactical specializations
Let's find out how to set up a latest generation Plate Carrier
I Plate of the latest generation are sold in pieces that are composed to create the most suitable setup for the needs, some products such as the brand new Bearcat cannot be used without extra accessories that must be purchased separately (cummberbund). Now let’s see how to configure our plate
CUMMERBUND
The Cummerbunds are the bands that join the front plate holder to the rear one, as well as acting as a bond they can be used to apply various kinds of pockets, we can insert different Cummerbunds according to our needs, but the compatibility must be checked, the Plate carriers DA Spitfire and Bearcat use the same specifications
Another component necessary to take full advantage of our PC essential to apply pockets on the front area of the plate, both the BC and SF MKII models are not sold complete with Flap, and therefore it is necessary to purchase a flap panel separately, there are panels with MOLLE, MOLLE system Lightened skeleton or that already have integrated magazine compartments, the DA systems use Mayflower specifications with hook & loop system with velcro and clips, which can be changed very quickly.
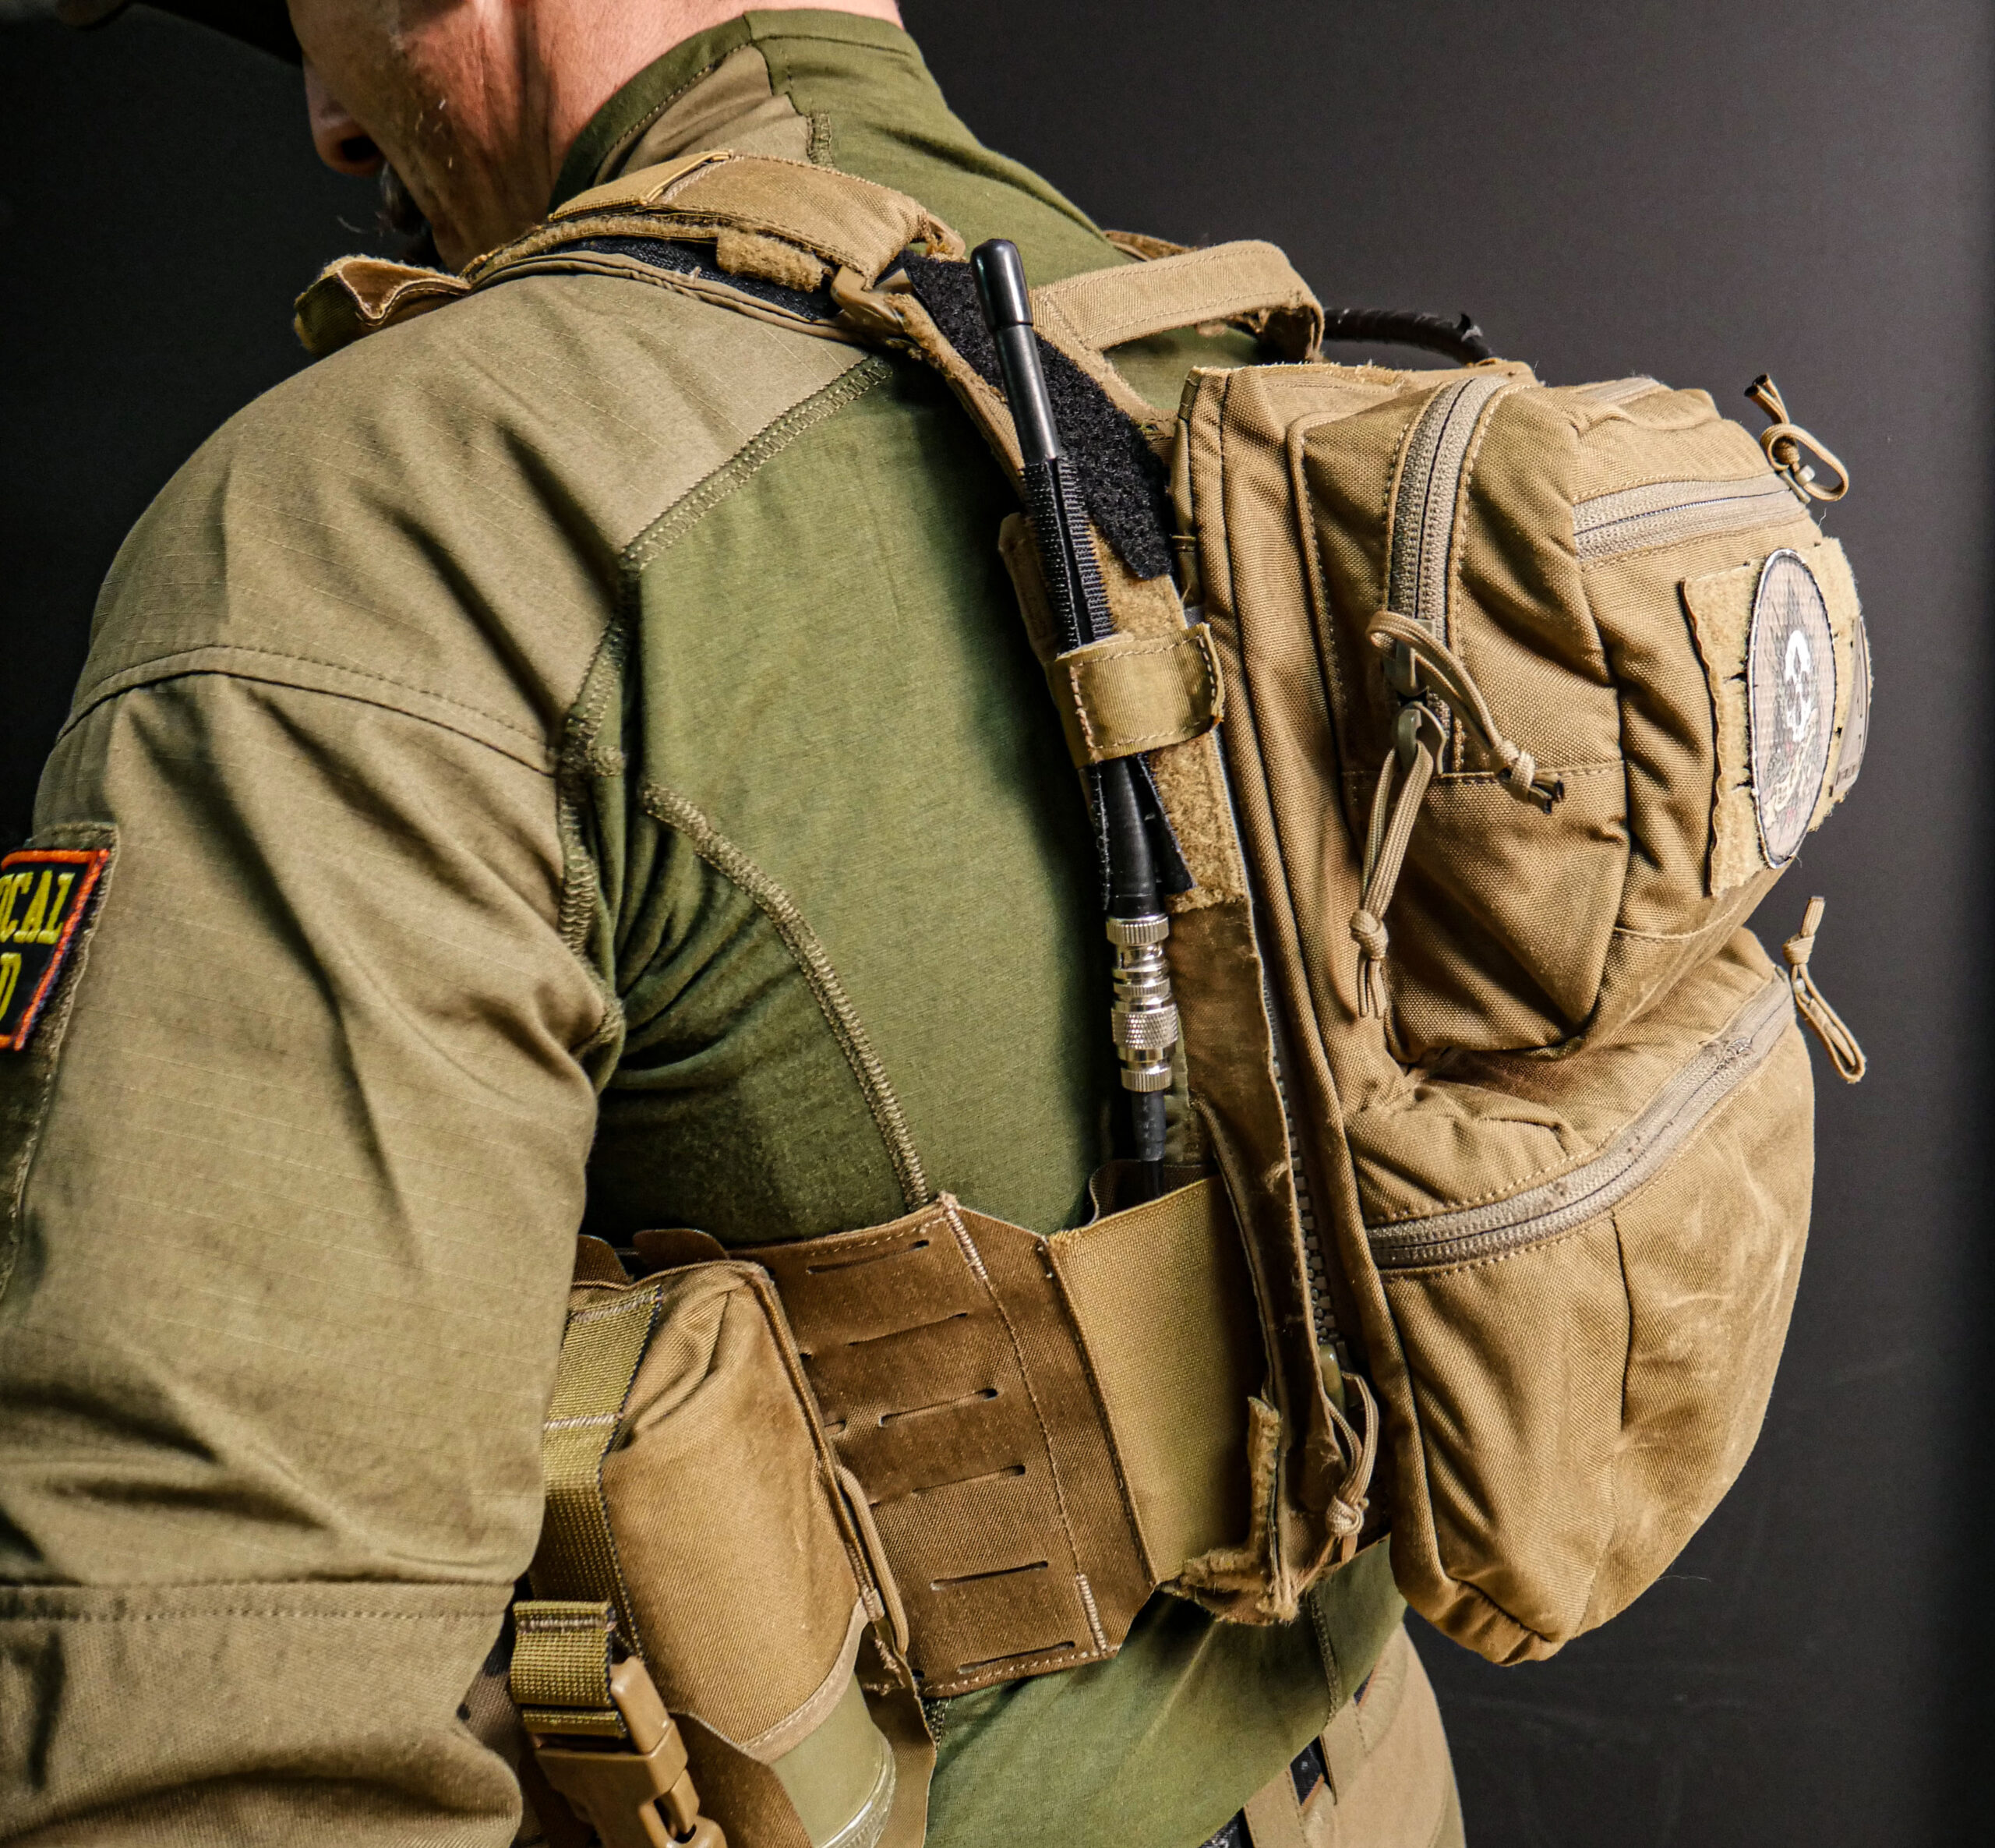
Another important component is the Back Pannel that allows you to apply on your back what you need to carry the extra second line components with you or in the case of integrated rucksacks for small 3 lines, DA uses Crye Precision specifications for its panels, consequently the compatibility is bidirectional, you can install panels already equipped with pockets and water bag or MOLLE panels always with compartment for water bladders
Let’s see what, we could and should put on our plate carrier:
Obviously the plates
Long weapon magazine pouches (optional short gun)
Door smoke bombs
Carry grenades
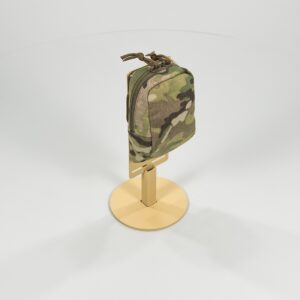
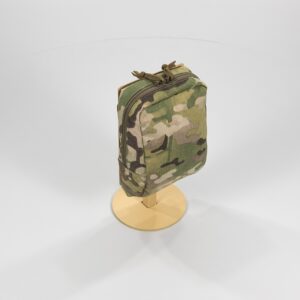
Utility
Radio
Admin
TQ
Knife (if it’s not on the belt)
IFAK (better if worn on the belt)
Magazine holder
There are different types to cover different needs, our advice falls on possibly semi-rigid magazine pouches to facilitate the relocation of semi-exhausted magazines and possibly with a reliable retention system, especially if the tactical needs involve particularly intense activities or aviolanci. Our special appreciation goes to DA’s Tac Reload which can carry up to two magazines per slot
Whether they are smoke bombs, grenades or flash bangs, these are material to be stored with extreme care, it is therefore recommended to use special pockets for transport, smoke bomb pockets, grenade pockets and flash bang pockets should be placed mainly on the strong side of the operator , to facilitate the grip with the dominant hand
Tool that necessarily goes into the second line. Militarily it is preferable to place it in the front area of the plate, so that it is easy to access by the operator,
Istruzioni per le taglie Vorremmo assicurarci che l’abbigliamento che acquisti sia davvero adatto a te, affinché possano svolgere correttamente il loro scopo. Ti preghiamo di investire un momento del tuo tempo per consultare la guida alle misure e la tabella delle dimensioni corrispondenti per evitare errori. Per prendere la giusta misura, prova gli abiti che ti stanno bene e misura.
Il petto Prova gli abiti e appoggiali su una superficie piana. Misura dal bordo sinistro al bordo destro appena sotto le maniche.
Vita Prova gli abiti e appoggiali su una superficie piana. Misura dal bordo sinistro al bordo destro in vita.
Lunghezza manica Indossa una camicia che ti piace, misura con un braccio al fianco, dalla cucitura della spalla lungo tutto il braccio fino a trovare la lunghezza desiderata. Si consiglia di posizionare la manica alla base del pollice (situata sull’articolazione del polso). Nelle giacche con maniche raglan, come Stratus® o Cumulus®, le misure delle maniche devono essere prese dalla base del colletto fino al polsino della manica.
Cinta Appoggia i pantaloni su una superficie piana. Misura la distanza del bordo interno dal cavallo, dove si incontrano le cuciture anteriore e posteriore, sul fondo della gamba.
Lunghezza dei pantaloni Stendi i pantaloni su una superficie piana con i bordi esterni su entrambi i bordi. Fare attenzione a rimuovere eventuali rughe e pienezza dal pannello posteriore. Misura la distanza dalla parte superiore della cintura alla parte inferiore dell’orlo.
Per le gonne Appoggia la gonna piatta più adatta alla tua taglia con le cuciture laterali rivolte verso l’alto. Usa la mano per appiattire / raddrizzare le rughe sul tessuto. Quindi misurare la distanza tra il punto del bordo superiore e il punto del bordo inferiore. Per ottenere il risultato più accurato dovresti misurarlo lungo le cuciture laterali.
Girovita Appoggia la gonna piatta più adatta alla tua taglia con la cerniera frontale rivolta verso l’alto. Usa la mano per appiattire / raddrizzare le rughe sul tessuto. Misurare la parte superiore della gonna (la linea di cintura) a partire da un bordo laterale verso il lato opposto. Quindi, raddoppia il risultato per ottenere la circonferenza della vita.
Circonferenza fianchi Appoggia la gonna piatta più adatta alla tua taglia con la cerniera frontale rivolta verso l’alto. Usa la mano per appiattire / raddrizzare le rughe sul tessuto. Quindi misurare la distanza tra i punti laterali opposti sulla parte dell’anca (a seconda del taglio della gonna, i fianchi dovrebbero essere di circa 11-14 cm sotto il bordo superiore della gonna). Raddoppia il risultato per ottenere la circonferenza dei fianchi. La tolleranza per le dimensioni indicate nella tabella è di +/- 2 cm (vale solo per l’abbigliamento).


